This tutorial will guide the user on how to set up an Mlogic LTO tape drive with a PC for archiving and retrieving media from the tape drive in conjunction with CatDV.
For a Mac tutorial, click here.
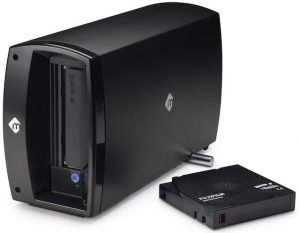
Plug the tape drive into your PC using the provided Thunderbolt connector.
A Thunderbolt utility icon will now appear amongst the icons list.
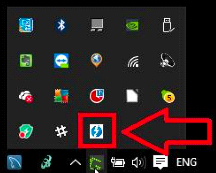
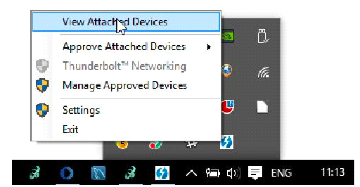
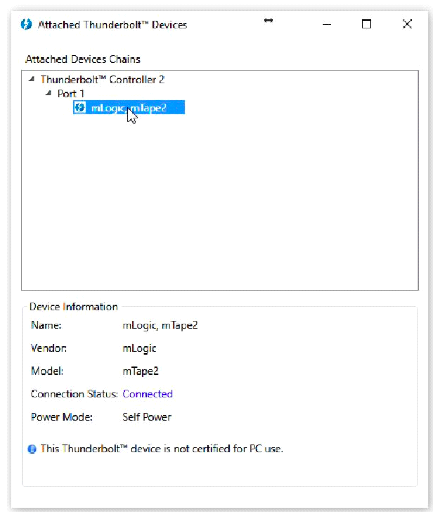
Hover your mouse over the icon and select “View Attached Devices” to ensure that the drive is recognised by the operating system.
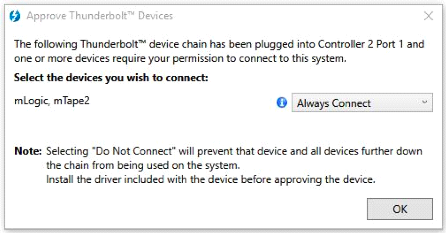
Next, click on “Approved Attached Devices”, select the port that the drive it connected to and select “Always Connect” before clicking the OK button to exit the window.
Now goto the Image Products website ( http://www.imagineproducts.com/) to register for a demo account so that you can download the PreRollPost software.
Once you have completed the forms download the PreRollPost software from the link that the web page provides you with.
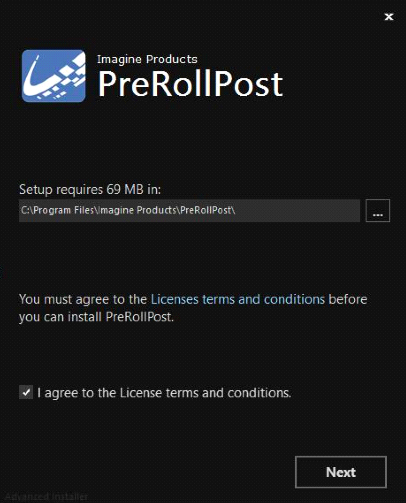
Check the “I agree box” and then click next and then select LTO in the following window.
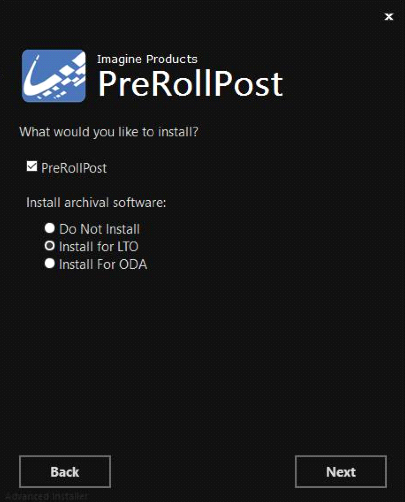
Click next and select “mTape” (in this example), the tape deck drivers and LTO management options are ticked by default. Click next to view the summary window.

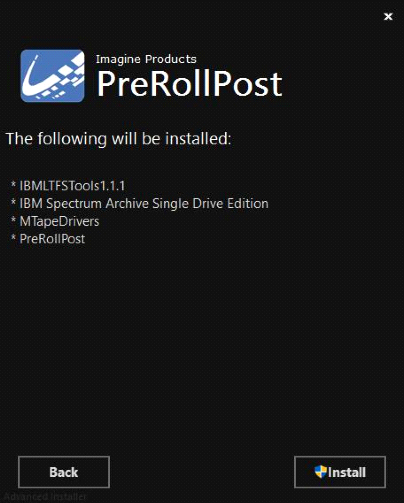
The summary window will display the options that have been selected for download and installation, click install to continue.
And reboot the computer for the changes to take effect.
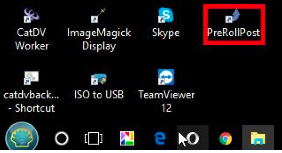
You will now see an icon on the desktop of your computer for the PreRollPost software, double click on the icon to open the software.
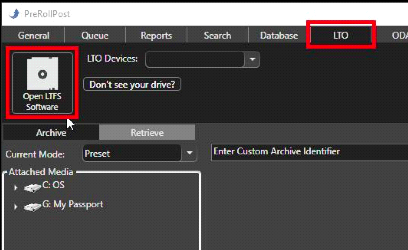
The PreRollPost software interface will now appear on your screen.

Click in the LTO tab and open the Open LTFS Software icon.
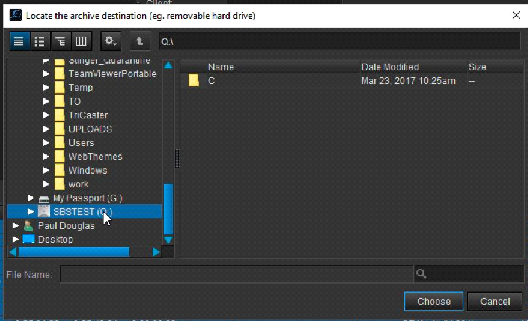
A configuration window will pop-up prompting you to assign a drive letter to the tape drive, select one that is not in use or reserved, then click the OK button to save the details.
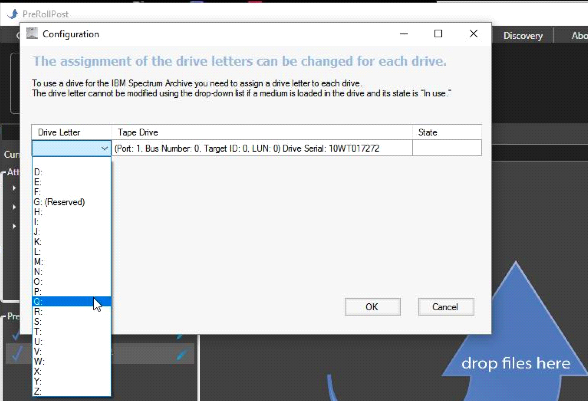
You will now be returned to the main window displaying the newly assigned tape drive.
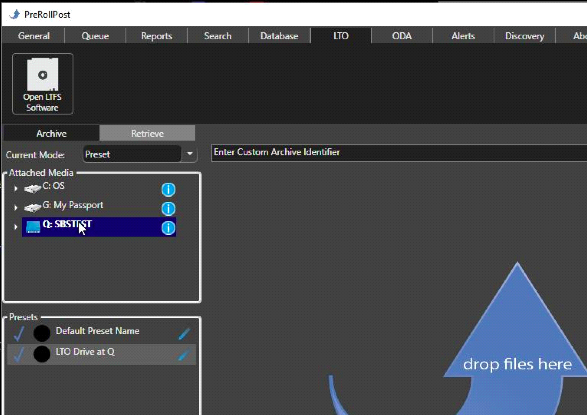
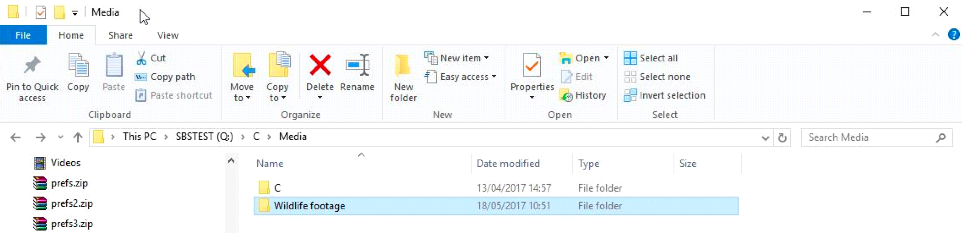
The tape drive will also be viewable in Windows Explorer, in this example it is assigned as Q Drive.
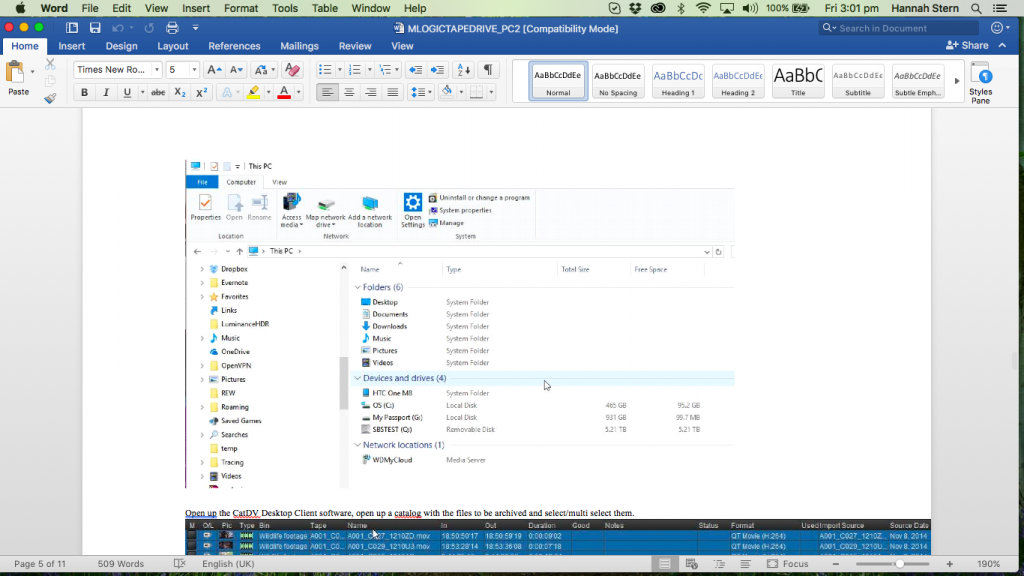
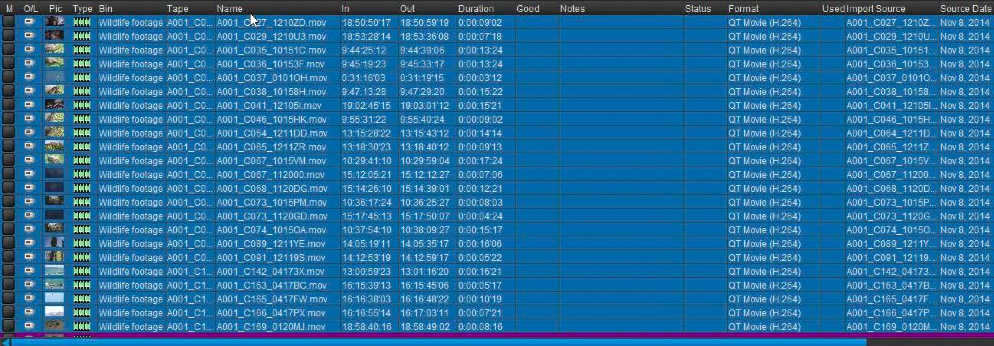
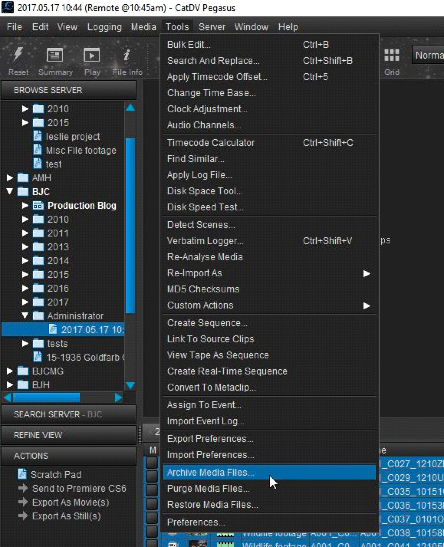
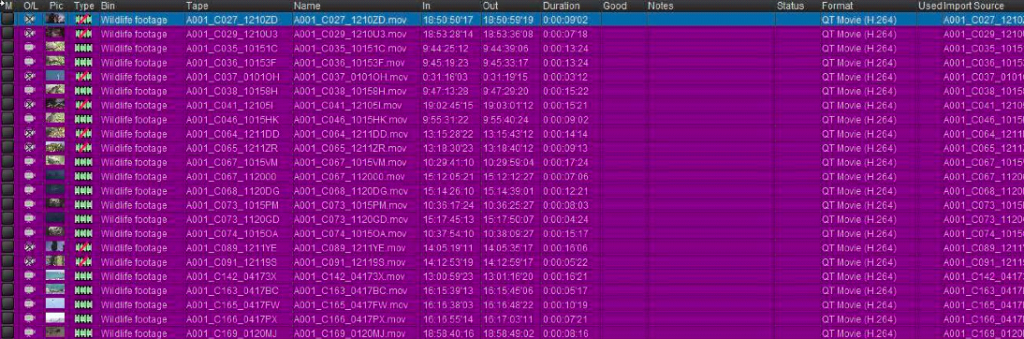
Open up the CatDV Desktop Client software, open up a catalog with the files to be archived and select/multi select them.
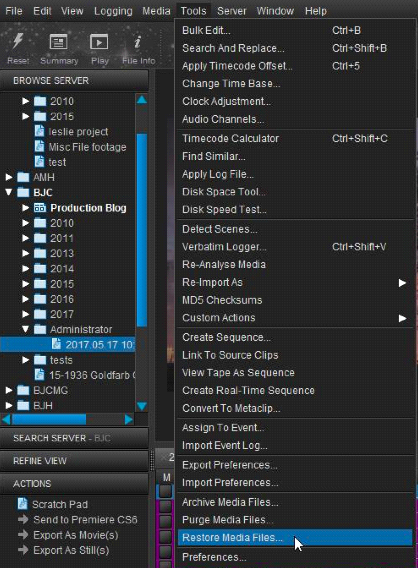
Click on Tools->Archive Media.
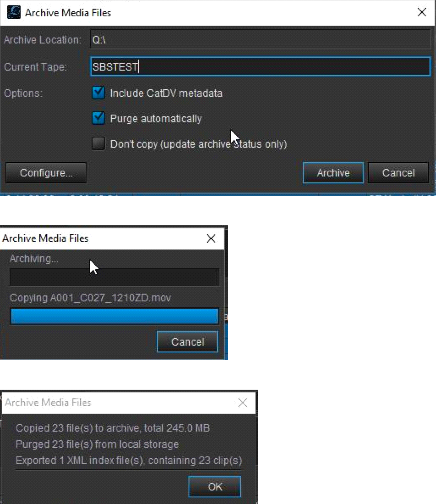
This will open the Archive Media Files dialog window.
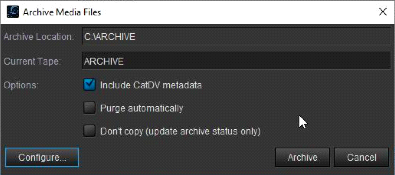
Click on the configure button to set up archiving/restoring to the newly assigned tape drive.
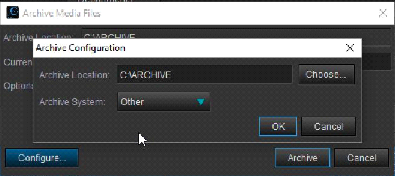
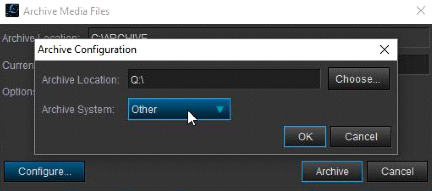
Set the “Archive System” to “Other” and click the OK button to save the details.
Enter the Current Tape details and click on the desired options and then click the “Archive” button to start the archiving process.
You can open Windows Explorer to see where the files have been archived.
And also check the archive status of the media file in CatDV Desktop Client.

To restore the files, simply open up the catalog and select the files to be restored.
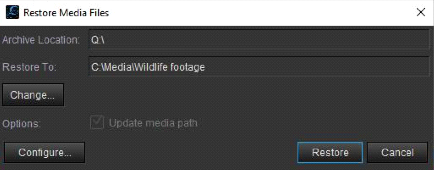
Click on Tools->Restore Media Files.
Click the “Restore” button.
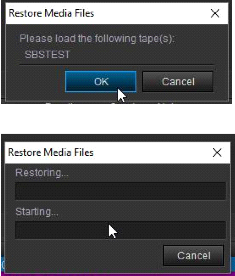
Insert the correct tape into the tape drive and click the OK button to start the restore process.
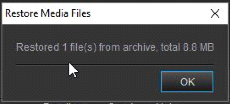
Your media files have now been restored.
Square Box Systems Ltd May 2017