There are 2 ways CatDV can integration with Adobe Premiere: using the Send to Command which you can find out more about here, or using the CatDV Adobe Premiere Panel plug in as described below.
This Premiere CS6 panel allows you to perform queries against a CatDV Server directly from inside the Adobe Premiere user interface. When you have identified the asset you require you can import it into your project without ever having to leave the Premiere software.
Assets imported in this way are treated as media files by Adobe Premiere and currently metadata stored against these assets in CatDV is not transferred. (To transfer assets with metadata you can use the Send to Premiere CS6 command from within CatDV Pro 10).
To learn how to set up and install the Adobe Premiere panel please use this link.
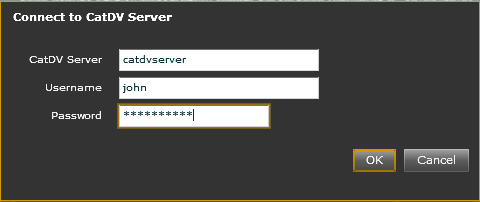
Before you can perform searches you must connect to your CatDV Server. Click on the Log In button in CatDV Panel.
Enter the hostname of your CatDV Server and your normal CatDV Server username and password. (If your CatDV Server uses a non-standard port you can use hostname:port notation.)
Searching
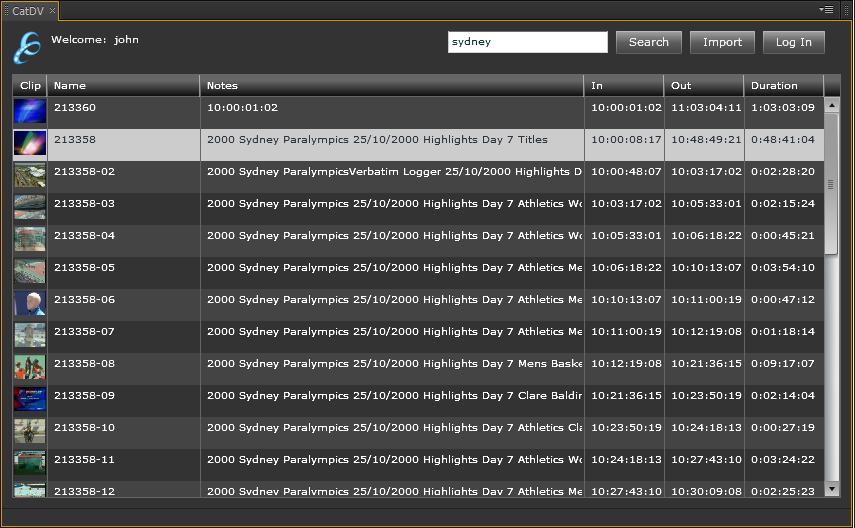
To perform a search enter your search term into the search box and click Search:
CatDV Server will find all the assets where the search term appears in any of the standard logging fields:
- Name
- Notes
- User fields
- File name
- Technical metadata fields
You can include multiple search terms separated by spaces, or enclose the search term in double quotes to search for an exact match.
The matching assets will be shown in the list as shown above. Each result row displays basic information about each clip, including name, notes and a small thumbnail image.
Viewing Asset Details
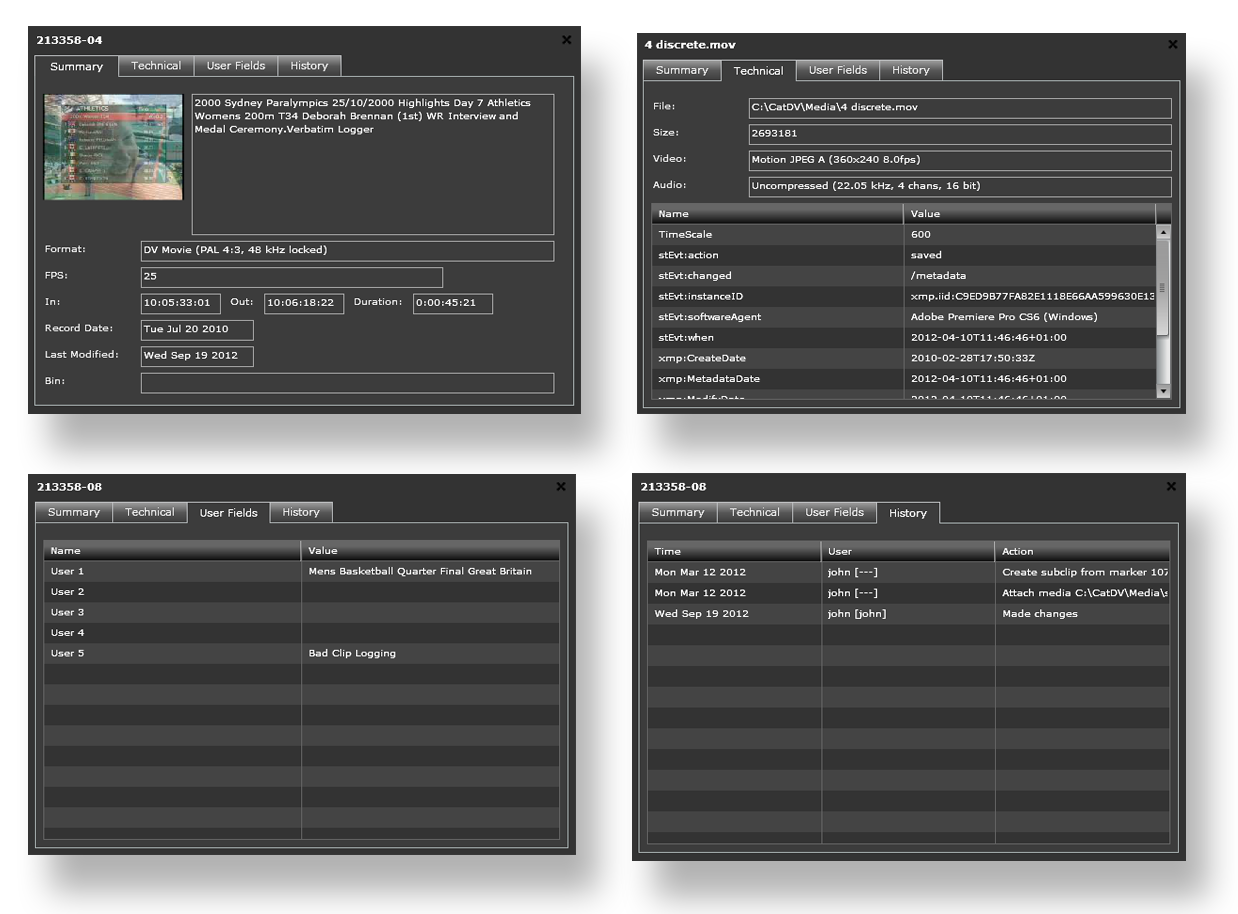
To view the details of a particular clip simply double-click on the item in the list. This will display the Clip Details window shown below.
The Clip Details window contains four tabs:
- Summary basic information about the clip, including the poster thumbnail.
- Technical technical metadata extracted from the media file the clip is from
- User Fields user defined meta-data fields for the clip
- History history of actions with data and user.
Press the Close (‘X’) button at the top right to return to the main list.
Importing Assets into Premiere
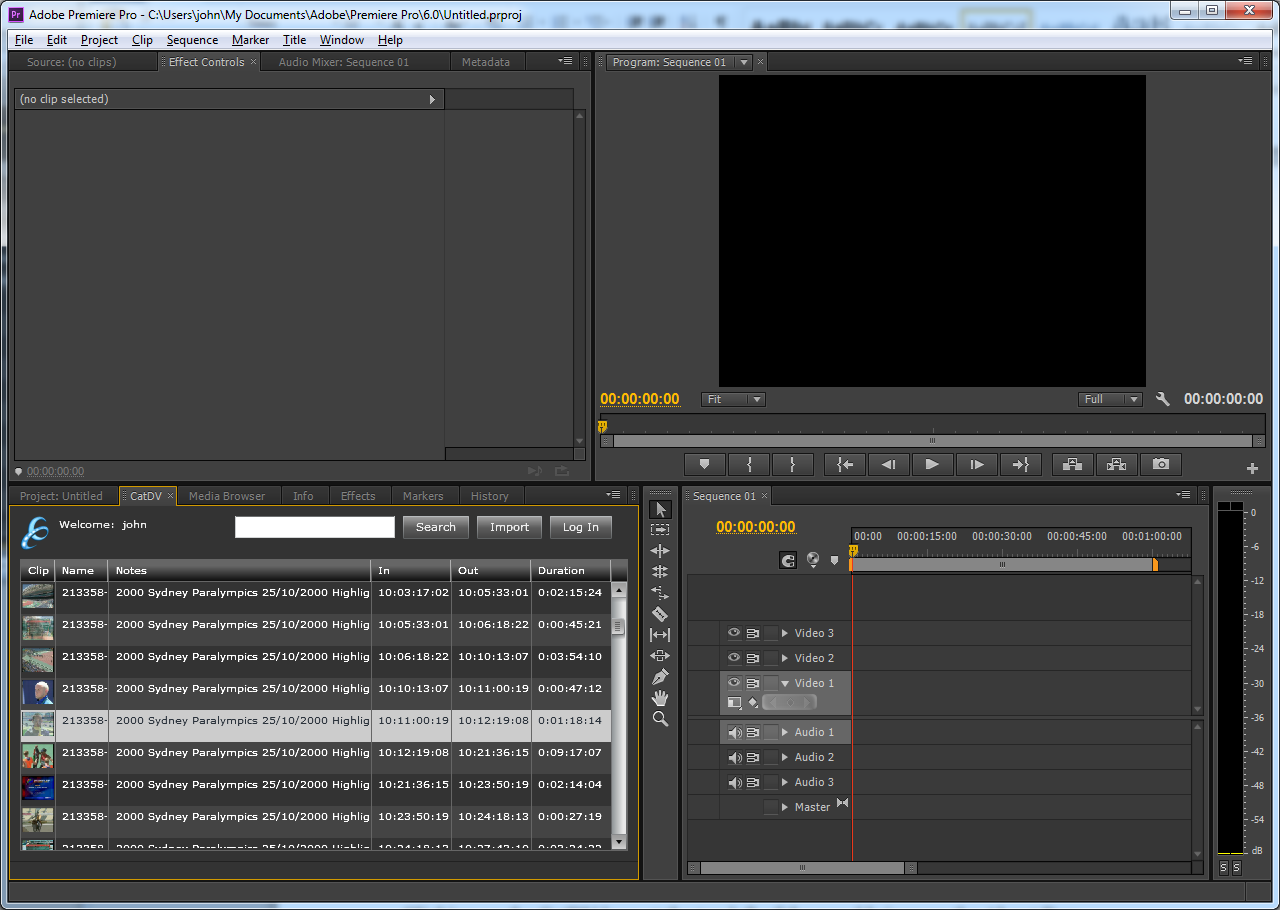
Once you have identified the assets that you want you can import it into Premiere you can import them by selecting them in the list and then either clicking the Import button or dragging them directly into the Project tab.
Note: If the CatDV Panel is docked in the same tab-set as the Project Panel you can drag the assets from CatDV over the tab of the Project Panel, which will then open, so that you can drop the assets there.


