Running the Tool
The CatDV Final Cut Server Migration Tool uses a ‘wizard’-style user interface that leads you through a sequence of steps to gather the information it needs to perform the migration.
Welcome Page
When you run the tool you will see the following welcome screen:
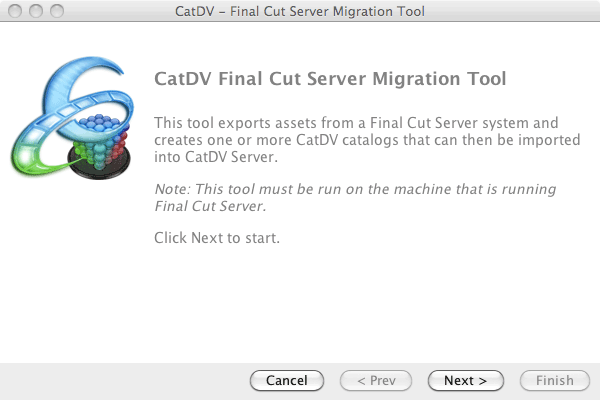
Press the (Next >) button to continue.
Database Connection
The next screen lets you configure the connection to the PostgreSQL database.
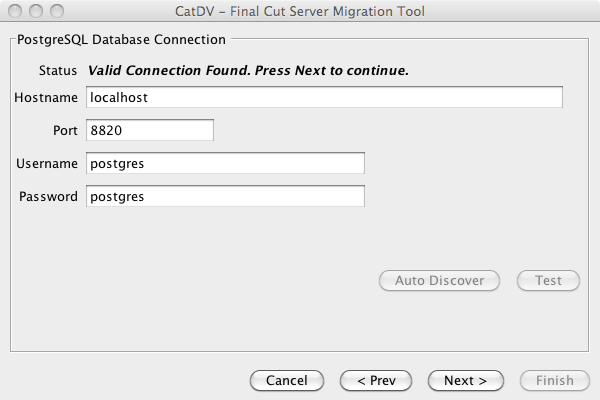
The tool attempts to automatically find the correct connection information to connect to the PostgreSQL database. If you are running Final Cut Server 1.5 or later and have not run the enable_db_access.sh script (see above) then this step will fail. You will not be able to move onto the next step until a valid set of connection details have been found. You can press (Auto Discover) at any time to request the tool to try and find a valid set of connection details to use.
If you have changed the configuration of PostgreSQL on your system so that it uses a different port or log in credentials you can enter the new details here. When you have entered the credentials press the (Test) button to confirm. Once a valid connection has been established you can press (Next >) to continue.
Export Type
This step allows you select what data you wish to export.
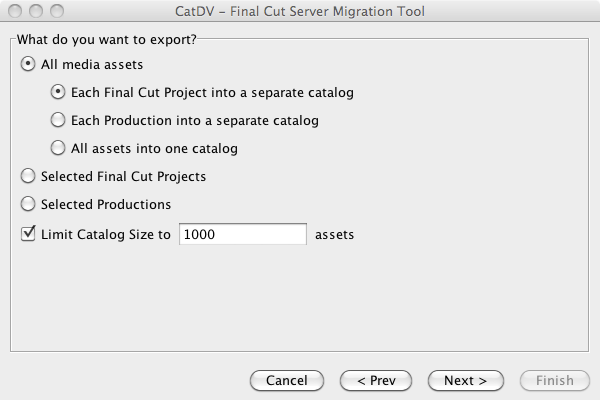
You can choose to export the metadata for all assets in the Final Cut Server system, or you can choose to select one or more productions or Final Cut Pro projects to export.
If you choose to export the metadata for all assets you can either choose to place all the metadata in a single CatDV project, or can allow the tools to automatically create separate CatDV catalogs for each production or each Final Cut Pro project. Any assets that are not associated with either a production or a project will be written to an additional ‘other’ catalog.
Whichever option you choose you can also choose to limit the total number of assets written to any single CatDV catalog. It is recommended that you select this option as performance can suffer if a single catalog grows beyond a few thousand assets. Please note that there is no limit to the number of catalogs you can store on the server.
Select Project or Production
If you selected to export either a selected productions or projects in the previous step then you will be presented with a list of the available products or productions.
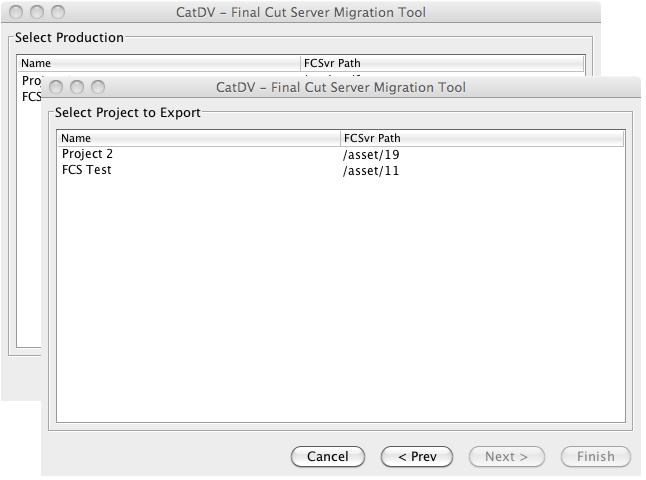
You can select multi-select items in the list by holding down the CMD key while clicking on the items.
Target Paths
This step allows you to select the location where the catalog(s) will be saved.
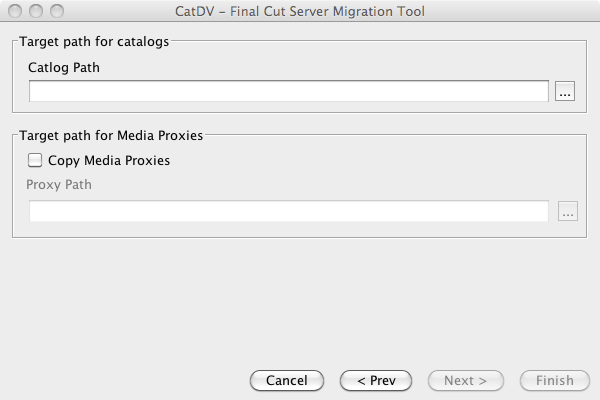
In the Catalog Path field you need to enter the path to the folder where the catalog(s) should be saved. Use the browse button (“…”) to the right of the text field to navigate to the correct folder.
Proxies
CatDV locates proxies (sometimes called previews) via a system of path mappings that map one folder structure storing original assets to another, similar, folder structure storing the proxies.
For example if you set a mapping up as follows:
/Volumes/Media -> /Volumes/Proxies
Then when CatDV comes across an original asset in:
/Volumes/Media/shoot1/movie.mov
It would expect to find the proxy movie in:
/Volumes/Proxies/shoot1/movie.mov.
You can have any number of these mappings allowing you to handle most situations.
However, Final Cut Server does not work in this way – it stores the proxy files in a special ‘Content Base’ which CatDV will not be able to navigate. Therefore if you wish to reuse your existing proxies then you must copy them from the Content Base into a folder structure that is compatible with CatDV.
The Final Cut Server Migration Tool can do this for you. If you select the “Copy Media Proxies” option it will copy any proxies from the Final Cut Server Content Base into a compatible folder structure under the path that you enter in the Proxy Path field above. Again you can use the browse button (“…”) to select the folder.
Be aware that proxies can occupy a substantial amount of disk space so please ensure that the location you choose has sufficient disk capacity.
When you have entered the required details press (Finish) to initiate the migration process.
Export Progress
The final screen gives on-going progress information about the migration process.
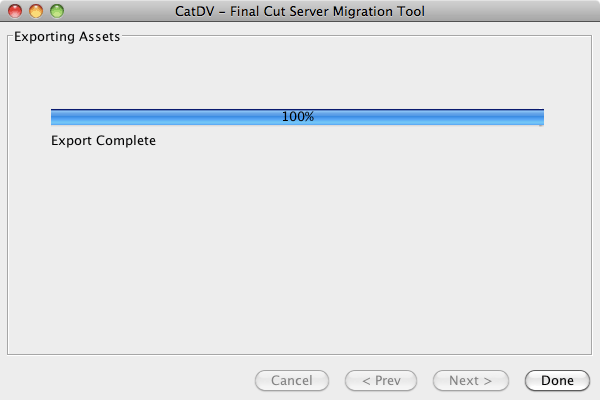
This process may take a substantial time to complete if you have a large asset base.
Importing the Catalogs into CatDV Server
When the completes it will have created one or more CatDV catalog files (*.cdv) files in the location you selected. The final stage of the process is to import those catalogs into CatDV Server. To do this run CatDV and connect to CatDV Server. Then select the Bulk Publish Catalogs command from the Server menu. This will prompt you to select the catalogs you want to publish to the server. Select the catalogs created by the FCS Migration tool and it will run through all of them pushing them to the server.
You’re done!