Configuring CatDV Server is performed using the CatDV Server Control Panel application.
CatDV Server Control Panel
The CatDV Control Panel should be launched automatically as part of the installation process under Mac OS X and Windows, however it can be launched manually in various ways as follows
- Under Mac OS X, launch CatDV Control Panel.app from your Applications folder
- Under Windows, double click ControlPanel.exe from the CatDV Server directory (eg. C:Program FilesSquare BoxCatDV Server)
- Under Linux run the ‘controlPanel’ shell script located in the CatDV Server directory to launch the Control Panel.
Status window
When you launch the Control Panel you will see the main status window:

Once running the control panel provides real-time status information about the server using a set of traffic light indicators that the status of:
- Server Installation – Critical files are present correct and a valid license code has been entered .
- Database – The database server is running and the ‘catdv’ database is accessible using the configured database URL.
- CatDV Server – CatDV Server is running and the control panel can make an RMI connection to it.
- Web Server – If licenced then the web client is installed and running
From this main screen you can also start and stop the server, view system log files and access server configuration and maintenance functions. Initial setup is entered using the setup wizard, while more advanced options are entered using the server configuration panel.
Server Configuration
The Control Panel allows editing of various options that control the operation of the CatDV Server and the Web Client (or Live HTML Publisher) by clicking the Server Config button on the main screen. The Server Configuration screen consists of six tabbed sections relating to different areas of functionality.
Server Settings
This section allows the setting of a number of global CatDV Server configuration options.
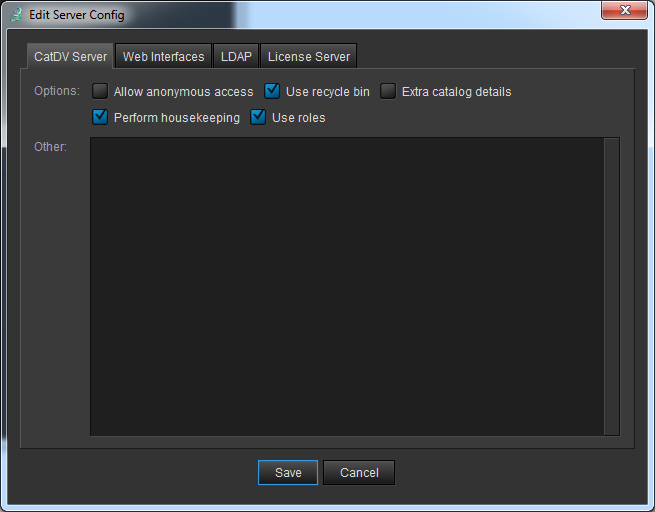
The options available are:
- Allow anonymous acces – whether users can access catalogs in the ‘Anonymous’ group (ie. where no production group has been specified) without logging on
- Use recycle bin – when clips are deleted from the server they are first moved to the recycle bin, from where they are automatically deleted when the recycle bin gets too large or after 2 weeks
- Extra catalog details – controls the amount of detail shown by tool tip text when displaying catalogs in the Server tree of the CatDV application (but can slow down browsing on large systems)
- Perform houskeeping – whether to perform housekeeping autoamtically when the CatDV Server starts up. On large systems this can take some time, so you may prefer to do it manually at a convenient time such as at the weekend (see “Tools” below)
- Use roles – this option should be checked if using CatDV Pro 9 or later clients to enable permission roles
The Other field allows advanced options to be entered as free text, with one option on each line.
Web Interfaces
This section is used to configure the CatDV Web Client and Web 2 components.
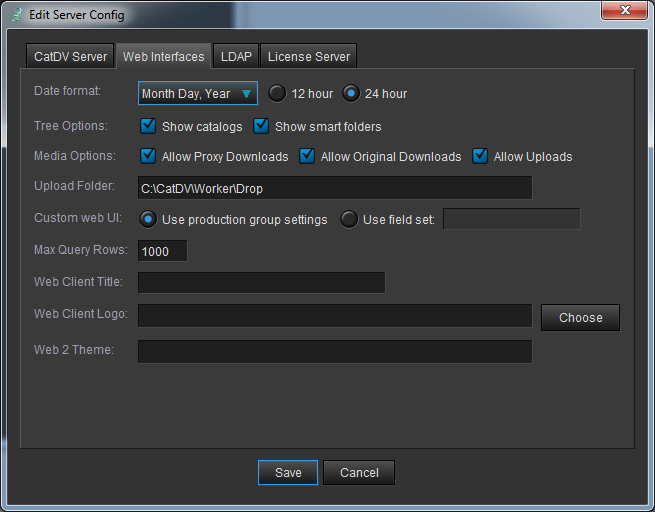
The options available are:
- Date format – allows you to specify how date will appear in the Web Client user interface
- Show Catalogs – display a panel that allows the user to select what catalog they are working on
- Show Smart Folders – display a panel that shows predefined ‘Smart Folders’ (essentially stored queries). This can be used to implement workflows by, for example, having a smart folder that displayed clips awaiting approval.
- Allow Downloads – specify whether the user should be able to download the original media associated with the asset they are viewing online
- Allow Uploads/Upload Folder – allow the Web Client to upload media files to the server. They will be stored in the folder specified by “Upload Folder”. Typically this would be a watch folder monitored by a CatDV Worker watch action.
- Customer Web UI – provides a choice of where custom metadata panel definitions should be taken from – either the setting defined by the production group the asset belongs to or from a specific field set.
- Max Rows – maximum number of rows to return in a single query.
- Custom Title – a custom title to use in place of the default “CatDV Web Client” title.
- Custom Logo – a custom logo to use in place of the default “CatDV Web Client” logo.
- Theme – name of the theme to use for the Web 2 interface.
LDAP Settings
This section is used to configure the server to use LDAP authentication.
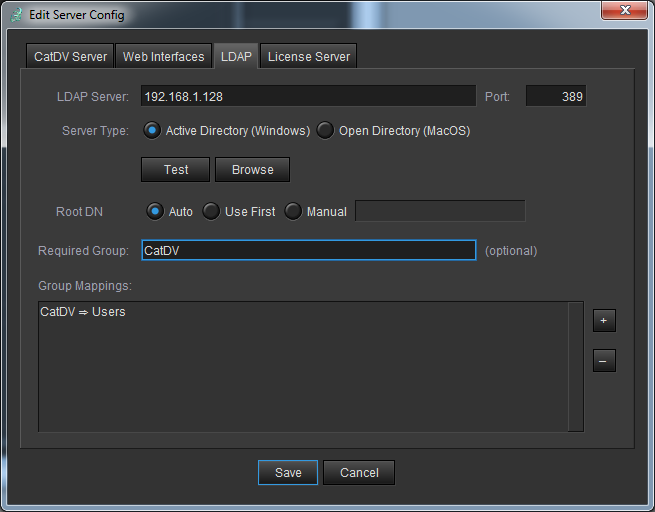
Please refer to Configuring LDAP for more details.
License Server
This section is used to configure the server to act as a centralised LicenseServer thereby avoiding the need to install licence codes on each machine individually.
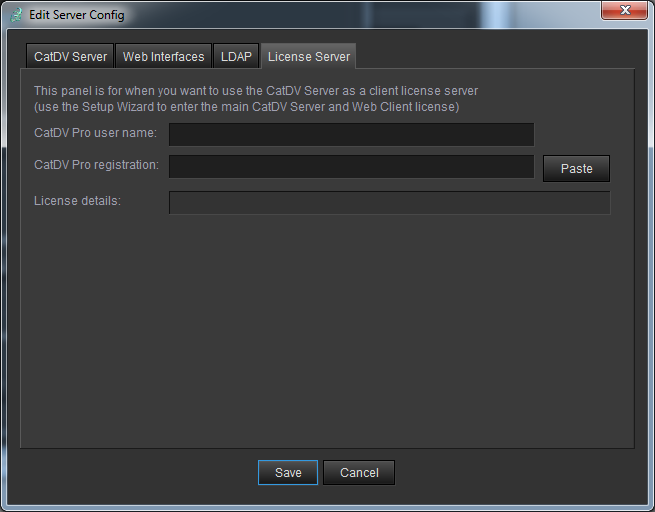
Please refer to Configuring a License Server for more details.