CatDV Enterprise Server defines permissions by specifying what actions the users with a given Role can perform on the catalogs in a particular Catalog Group (formerly Production Group).
Pegasus Server extends this model to allow permissions to be specified not just based on users with a specific role, but also individual users or users that meet particular criteria – such as belonging to a certain ‘team’.
Likewise user permissions can now be applied not just to catalog groups, but to individual catalogs or to catalogs that meet certain criteria – such as being within a particular catalog folder.
These enhanced permissions are implemented using Access Control Lists or ACLs and can be administered using the Web Admin UI.
NOTE: currently if you enable ACLs you must use the Web Admin UI to administer permissions. Any permissions set up using the Server Admin panel in the desktop client will be ignored.
Enabling Enhanced Permissions (ACLs)
To enable ACLs you must have a valid Pegasus Server licence. You also need to enable the feature by entering the following text into the ‘Other’ field in the Server Config screen in the CatDV Server Control Panel:
catdv.accessControlLists = true
You will then need to restart CatDV Server.
Configuring Enhanced Permissions (ACLs)
Access Control Lists are configured in the Catalog Groups section of the CatDV Web Administration UI.
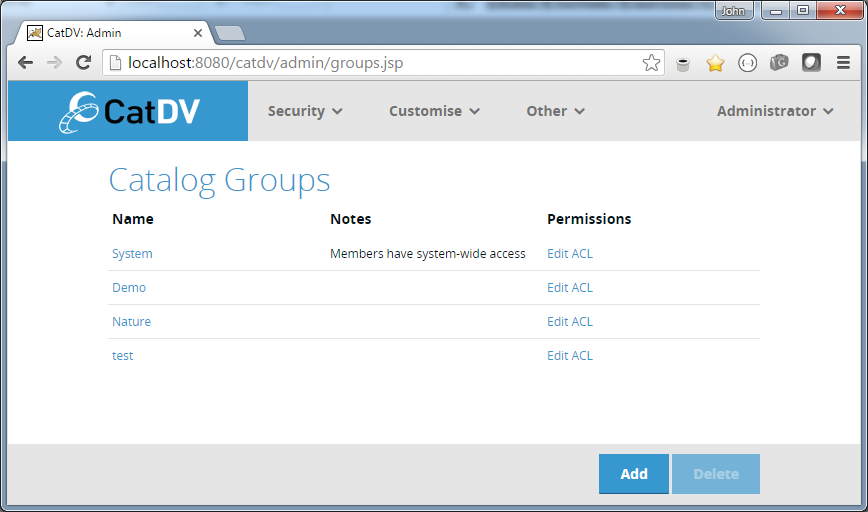
With Enhanced Permissions enabled the Edit Permissions link next to each group changes to Edit ACL. Clicking on this link brings up the ACL Editor for that catalog group.
Access Control List Editor
The Access Control List Editor allows the Access Control List for a particular catalog group to be edited.

An Access Control List is a list of Access Control Rules. Each Access Control Rule consists of three parts:
- User Selector – specifies which users this rule applies to. This selector might specify one or more individual users, a Role (in which case the rule applies to all users that have that role), or a user field value (in which case the rule applies to all users who have the specified value in the specified field).
- Permissions – specify what permissions the users defined by the User Selector have on the catalogs defined in the Catalog Selector.
- Catalog Selector – specifies which catalogs within the current group the rule applies to. This selector might specify individual catalogs, or catalog groups or rules that select multiple catalogs based on specific criteria. If there is no Catalog Selector then the Access Rule applies to all catalogs within the current group.
NOTE: In the Access Control List Editor the Users/Role section lists the User Selectors for all the Access Control Rules in the current Access Control List. Selecting one of these User Selectors selects the related Access Control Rule and updates the Permissions and Catalogs sections to display the Permissions and Catalog Selectors for the selected Access Control Rule. If no User Selector is selected in the top section the Permissions and Catalogs sections are inactive.
User Selector Editor
Clicking Add in the Users/Roles section, or selecting an existing User Selector from the Users/Roles list and clicking Edit, opens the User Selector Editor.
NOTE: clicking Add to add a user selector creates a new Access Control Rule with the newly created user selector.
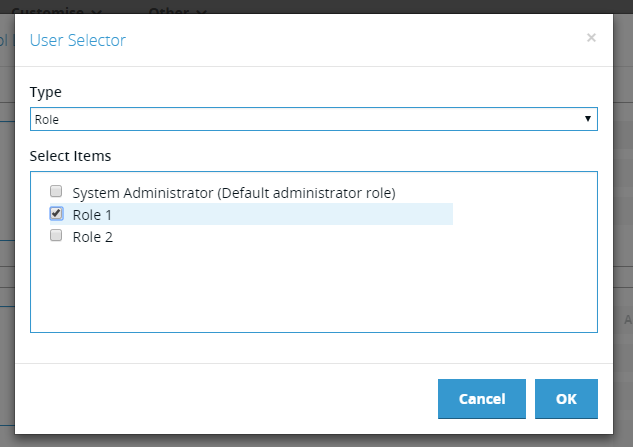
User Selectors can be one of a number of types:
- User – a list of individually selected users
- Role – users who belong to any of the selected Roles
- Custom Field – users who have a particular value for a user-defined field
After selecting the type from the Type drop down the user then selects the items in the checkbox list below. In the above example the selector type has been set to Role and Role 1 has been chosen from the available Roles. This means that this selector will select for all users in Role 1.
Custom Field User Selectors
In the example below there are two custom entries in the type selector – Subject and Year Group:

These fields are intended to model typical college students, where each user (student) is studying a particular subject and is in a particular year group. These two custom fields are defined as picklists that have a list of predefined values, which are presented as the values to select when that type is selected.
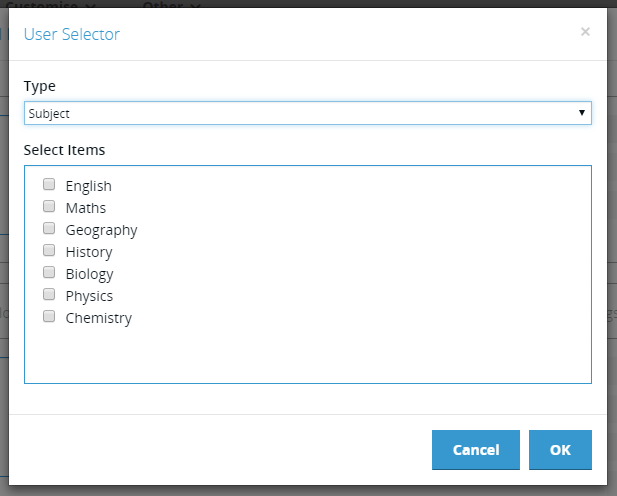
For example – here the user has selected ‘Subject’ and the list shows the different subjects defined in the picklist stored against the custom ‘Subject’ field. Selecting one or more of these values will select all users who have the ‘Subject’ field set to one of the selected values.
Permissions
Having selected a User Selector the Permissions and Catalogs section of the ACL Editor are populated with the Access Control Rule associated with the selected User Selector.

The Permissions section will be familiar to existing users of CatDV Server as they are the same as used by the normal Role/Group permissions.
The selected permissions are applicable to the users specified by the user selector and the catalogs specified by the catalog selectors (see below)
Catalog Selector Editor
There two types of Catalog Selectors:
- Catalog – selects individual catalogs from the current catalog group
- Rule – a rule that selects one or more catalogs from the current group based on specified criteria
Clicking Add Catalogs in the Catalogs section (or selecting an existing catalog selector and clicking Edit) opens the Catalogs Selector.
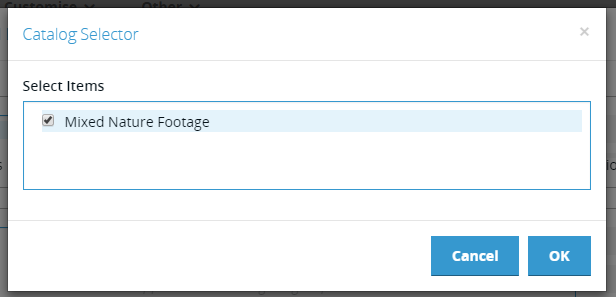
The list shows catalogs from the current group and one or more of these can be selected. The permissions defined by this Access Control Rule with then apply to those catalogs
Clicking Add Rule in the Catalogs section (or selecting an existing rule selector and clicking Edit) will open the Catalog Rule Selector:
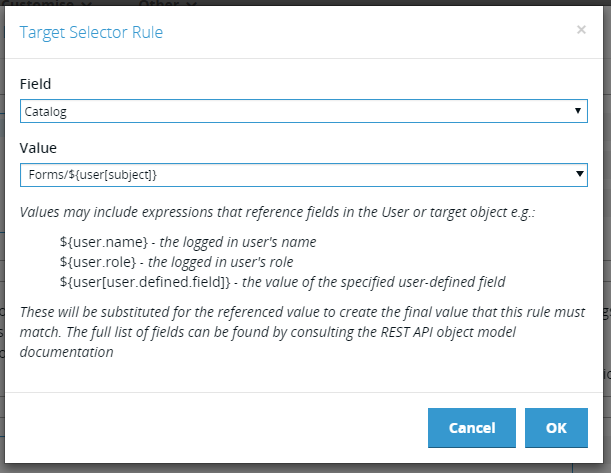
A single catalog selector rule (there can be many in a single Access Control Rule) specifies the criteria that must be met for a catalog to be selected. It can be thought of as a simple query.
There are two elements to the rule:
- Field – specifies the field on the catalog object that will be tested.
- Value – the value that that field must have in order for the catalog to match.
Field
The Field drop down show the available catalog fields:
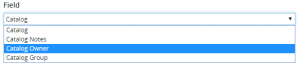
Currently only built-in fields are supported, but in future custom catalog fields will be added.
Value
The Value field is a free text field into which the value to be matched against is entered. It can contain a simple text value that must exactly match the selected catalog field, or it can contain a more complex expression that must evaluate to a value that matches the selected catalog field.
Wildcards
A wildcard (‘*’) matches any sequence of characters.
For example if the selected catalog field was ‘Catalog Name’ and the value was ‘Forms/*’ then the selector would match all catalogs whose name begins with ‘Forms/’.
In CatDV a catalog’s name may be a path name that is used by the UI to present the catalogs in a tree. Therefore this pattern matches all catalogs in the ‘Form’ folder.
User Field Expressions
The value field may also contain references to values from the User object that refer to the currently logged in user.
These expressions can refer either to build in fields – e.g.
${user.name} – the user’s name
${user.role} – the user’s Role
Or custom user-defined fields, such as those mentioned in the previous section – e.g.
${user[subject]} – the custom ‘subject’ field on the user object
By combining these features very powerful rules can be created.
NOTE: the full list of fields on the User object can be found in the Object Reference of the CatDV REST API documentation.
ACL Rule Example
Take the student scenario described earlier where the User object has a custom user-defined field called ‘subject’ defined on it that contains the subject the student is studying.
Imagine that we wish to restrict that student to only be able to access catalogs with the catalog folder that matches their subject and that those catalog all live in a catalog folder called ‘Forms’.
This could be achieved by selecting ‘Catalog’ (i.e. catalog name) as the field and then setting the value to:
Forms/${user[subject]}/*
That is – select all catalogs where the catalog name (path) starts with ‘Forms/’ followed by the student’s subject.