Logging In
When you navigate to the Web 2 interface you will see the log in page shown below:
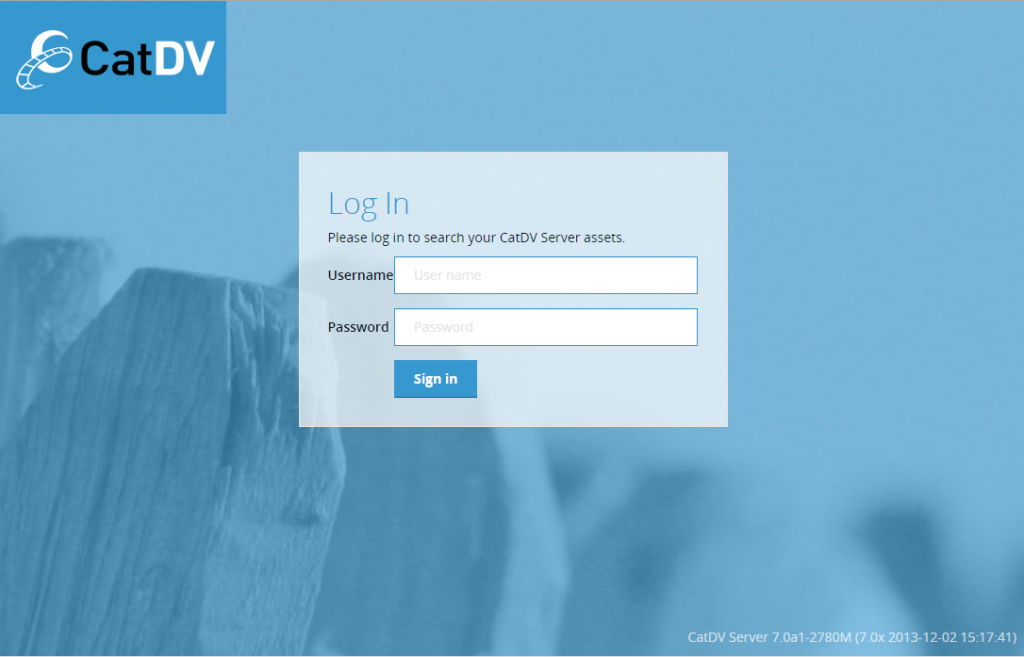
You must enter your CatDV username and password and press ‘Sign In’ to access the Web 2 application.
Main Screen
Once logged in the main screen is displayed:
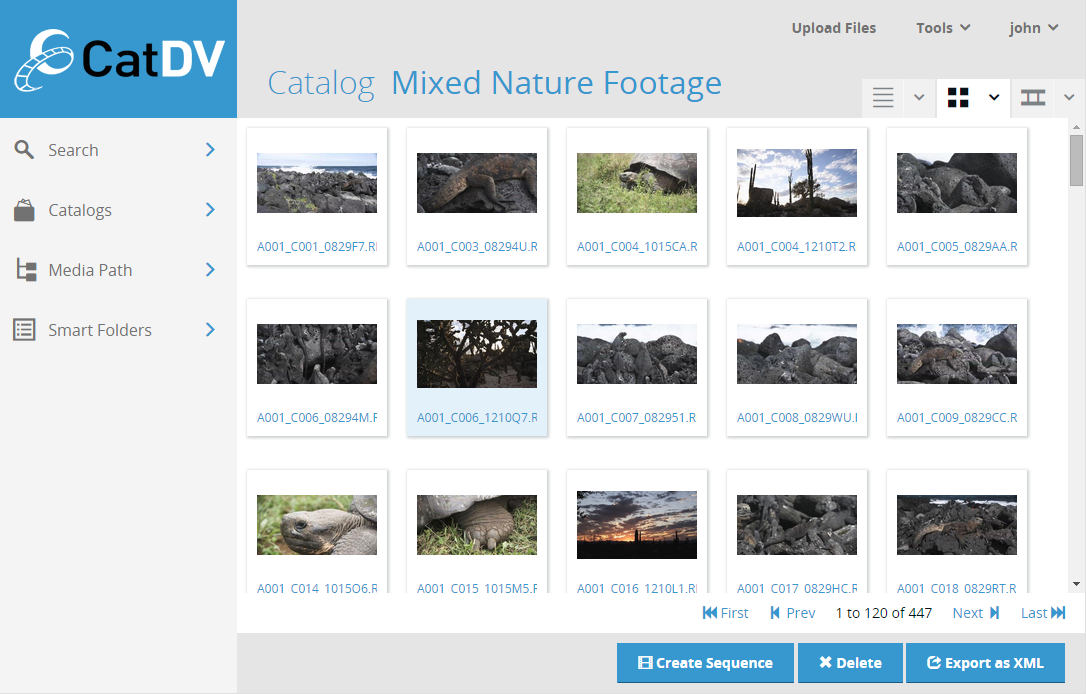
This screen is divided into a number of sections:
Browse/Search Panel
The Browse/Search Panel (down the left hand side of the page) allows you to find the assets you want in a number of different ways.
- Search – allows you to search the entire CatDV database based on a simple search phrase or by constructing complex search queries.
- Catalogs – displays a list of accessible catalogs arranged hierarchically by group and path. Clicking on a catalog displays its contents in the clip list area
- Media Paths – displays a folder tree (similar to a file browser) showing the physical locations of the media files of all accessible assets. You can click on any folder in the tree to display the clips whose media files are contained in the folder or any child folder.
- Smart Folders – displays a list of the defined Smart Folders. Clicking on a Smart Folder displays the clips that match it in the clips list. The Smart Folder pabel also allows you to create new Smart Folders or edit existing ones.
Clip List Panel
The centre of the pagedisplays the clips selected via the browse/search panel. The panel can present the list as either a table and grid or a list of film-strips – controlled by the view tabs at the top right of the list.
Click on an item in the list selects it. (You can select multiple items using Ctrl/Cmd or Shift). To view an an individual clip click on the name.
Toolbar Panel
The Toolbar Panel (at the top of the page) shows the title of the currently displayed clips list. This may be the name of the selected catalog or the path of the selected media folder or Query Results for search results. It also gives access to global application functionality through a number of menu items:
- Upload Files – (where available) allows you to upload media files to the server.
- Tools – (where available) gives you access to custom functionality defined by Server-side Plugins. The functions displayed in the menu will depend on the server-side plugin that are currently installed.
- User – displays the name of the currently logged in user and, when clicked, displays the menu of user actions including log out.
Action Panel
The Action Panel (at the bottom of the page) provides access to actions that operate on the currently selected clips
- Create Sequence – creates a rough cut sequence containing the selected clips and navigates to the sequence editing page
- Delete – deletes the selected clips. This action cannot be undone.
- Export as XML – downloads a Final Cut 7 XML file based on the selected clips. This file can be used to import the clip information and metadata into many popular NLEs.